Mike Alexander's 1973 MGB with Buick 215 V8
How It Was Done
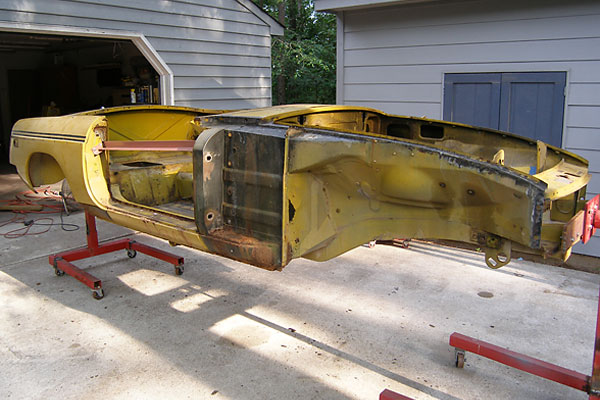
Ready to get started...
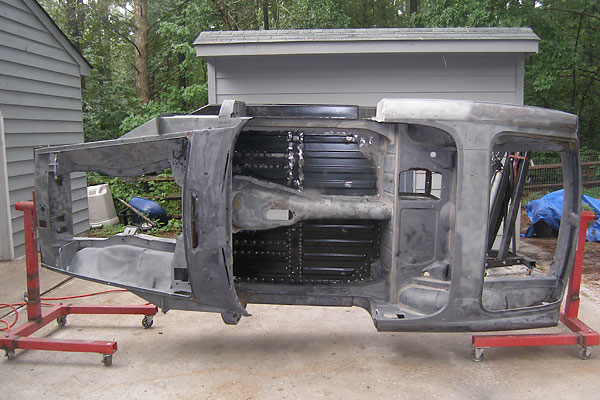
Installation of replacement floorboards, as seen from above...
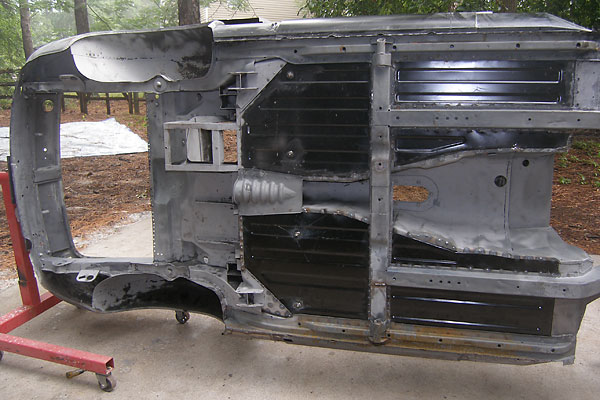
and as seen from below...
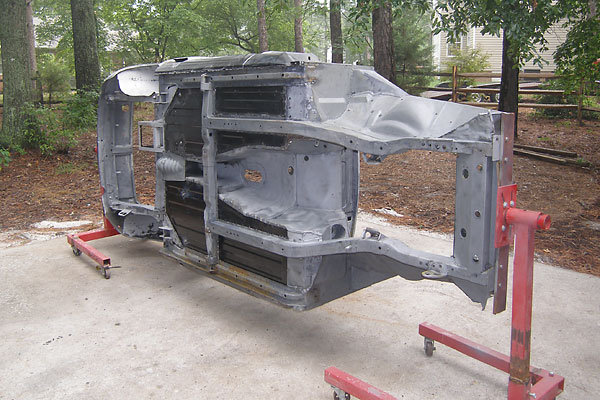
and from another angle.
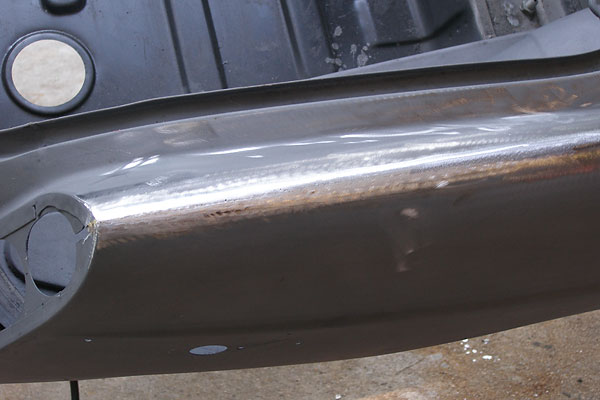
Eliminating the fender-top seam.
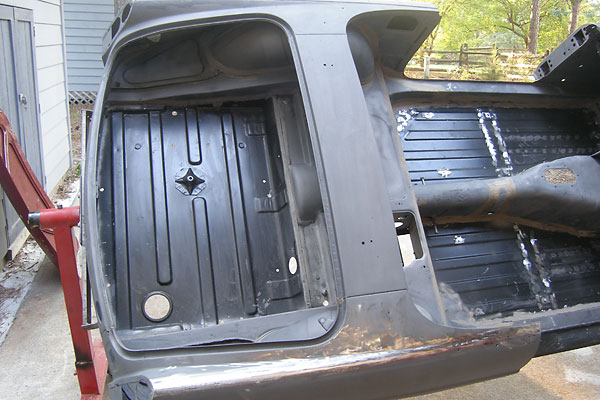
Replacement trunk floor.
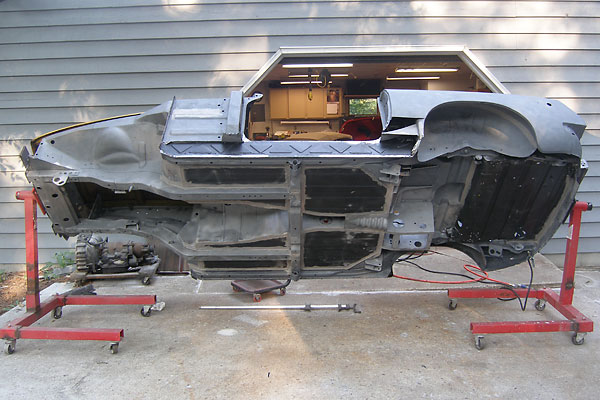
Replacing the castle rail (i.e. inner rocker panel).
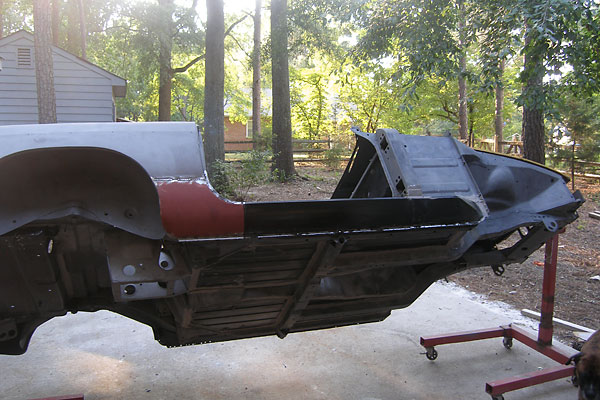
Installing the rocker panel and replacement quarterpanel "dog-leg".
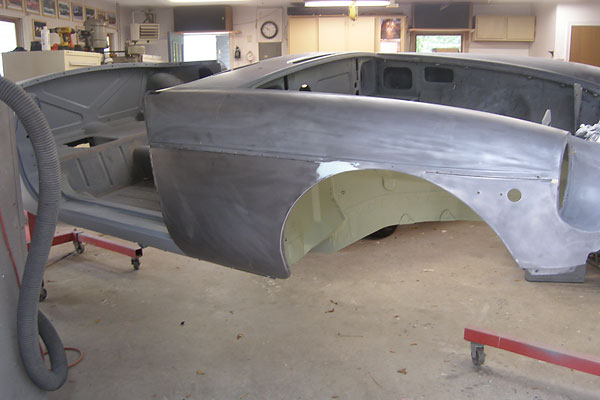
The passenger-side fender went on and looked really good.
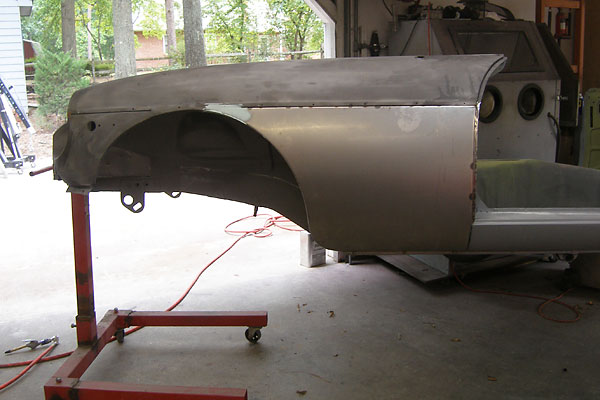
The driver-side fender took more work. Rust repair necessitated replacing the whole lower part,
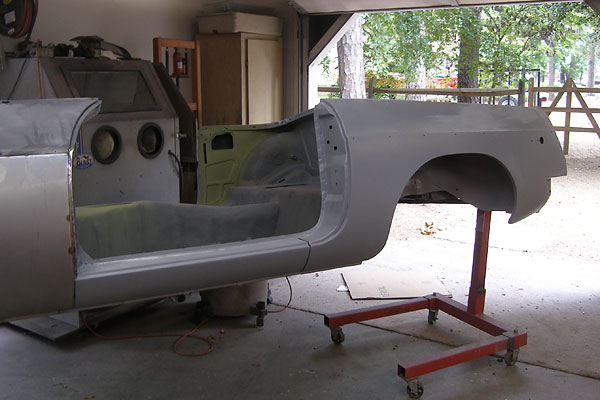
...which needs to be done on the car so that fit and alignment come out correctly.
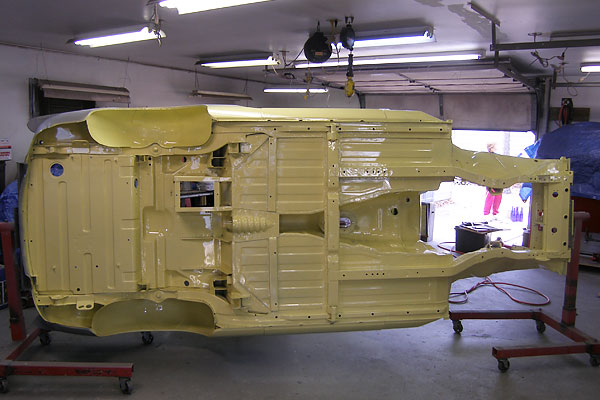
Painted! This view shows many of the distinctive features of a "rubber bumper" bodyshell. You might note
different leaf spring mounts, which project lower to lift the body. The heelboard stiffener has a deeper
cross-section to accomodate the driveshaft's greater angle. The radiator is mounted further forward, and
the radiator shelf and its reinforcement are more elaborate. Note also the tie-down brackets for transport.
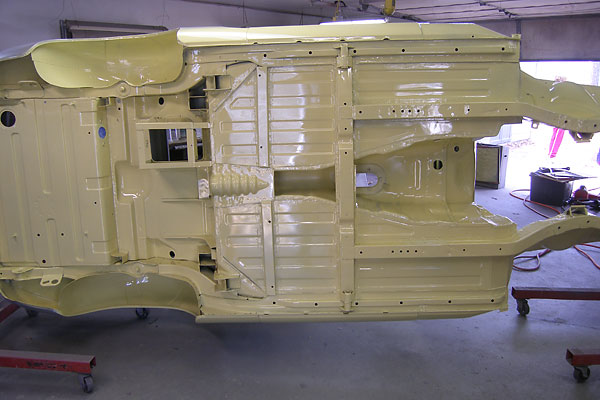
Mike added hat-section reinforcements under the floor to strenghen the seat mounting points.
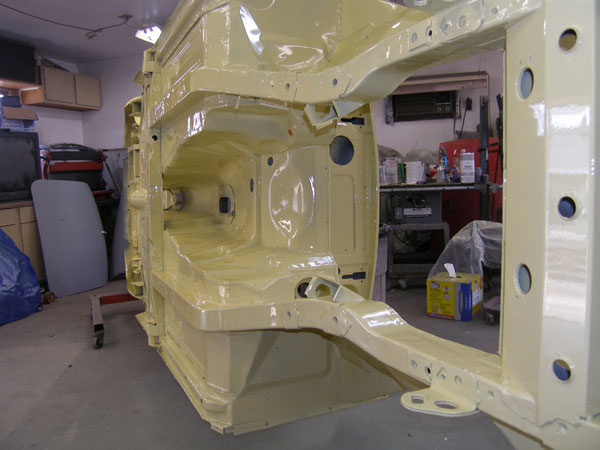
Very minimal transmission tunnel mods.
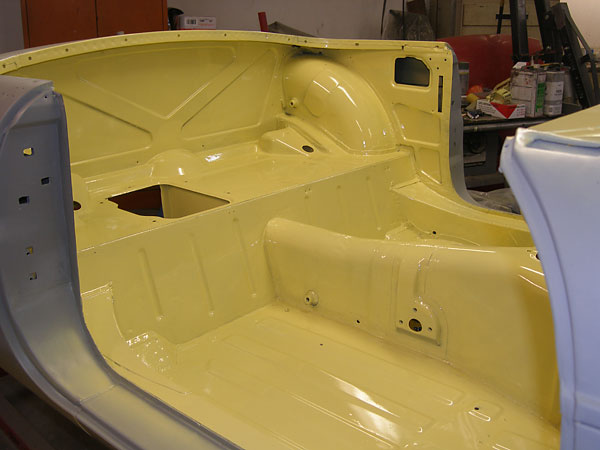
A single battery box is another distinctive feature of the "rubber bumper" bodyshell.
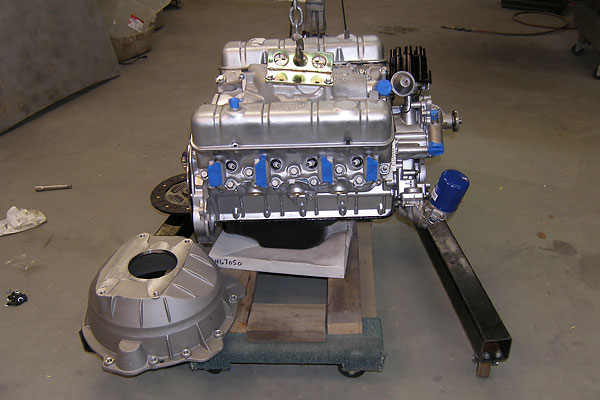
Buick's classic all-aluminum "215" engine, with a modern aftermarket transmission bellhousing.
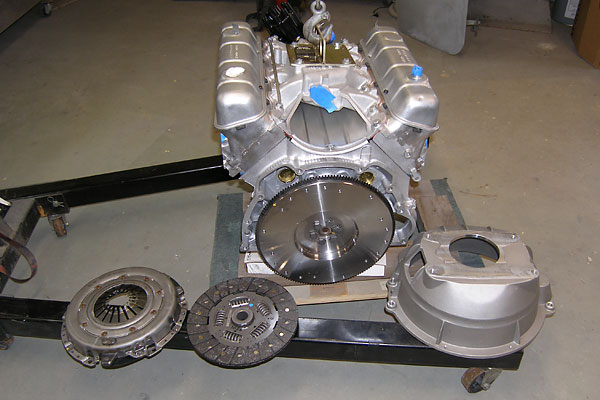
Chevy Camaro spec diaphragm pressure plate and clutch disc.
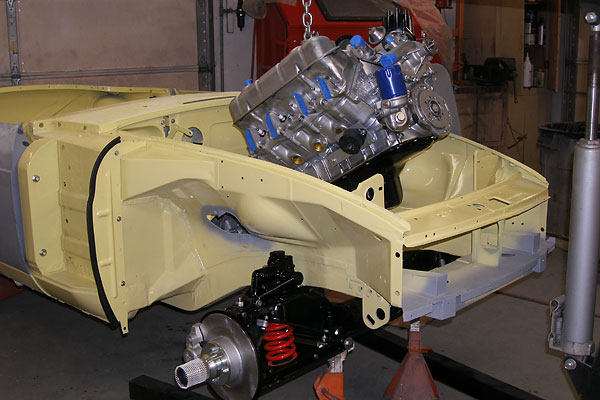
Actual engine installation is so quick and easy compared to all the preparation...
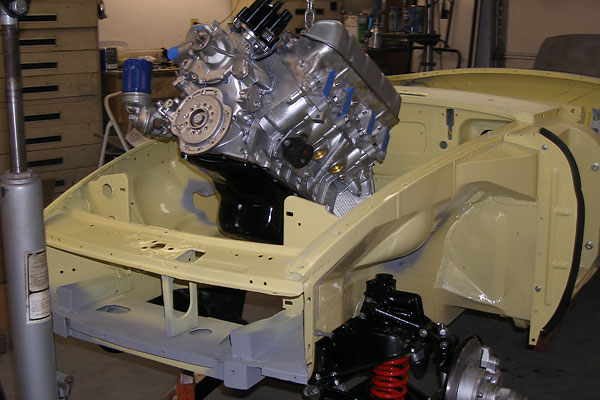
(Of course, the engine will probably come out and go back in a couple more times.)
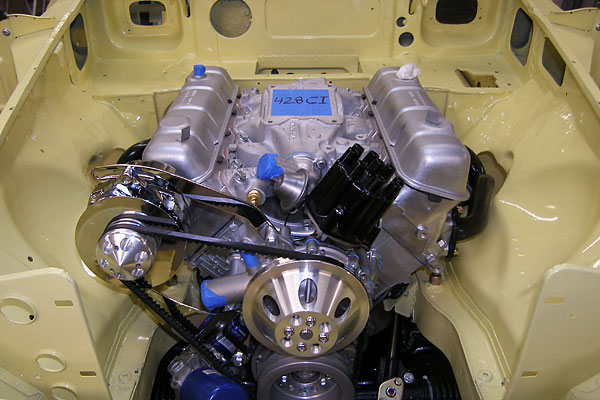
428ci
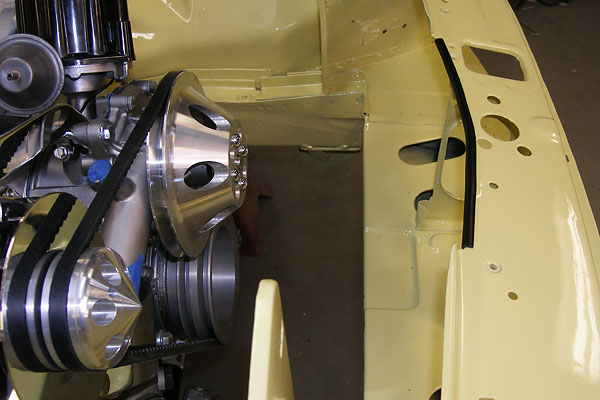
Installation of the alternator.
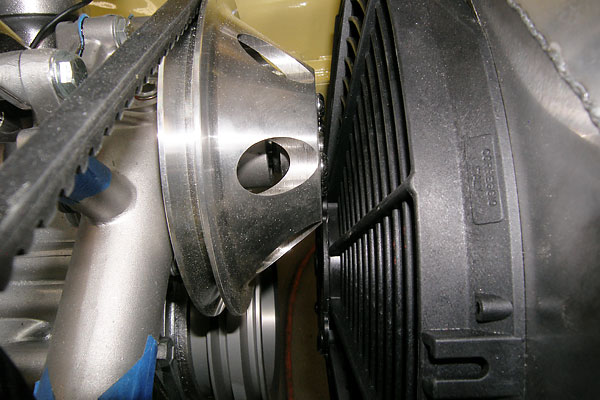
Checking pulley clearance, after installation of the radiator and cooling fan.
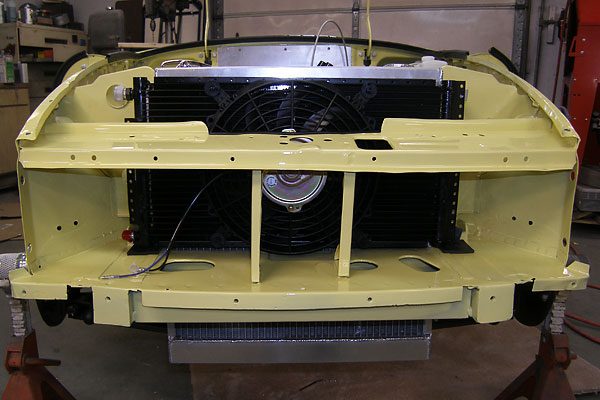
One fan pushing, and one fan pulling.
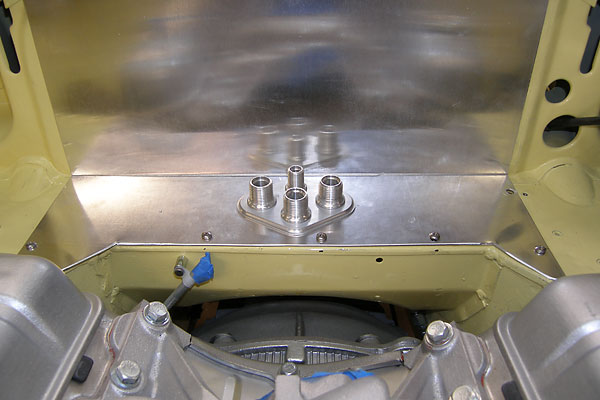
Pass-thru panel for the HVAC system.
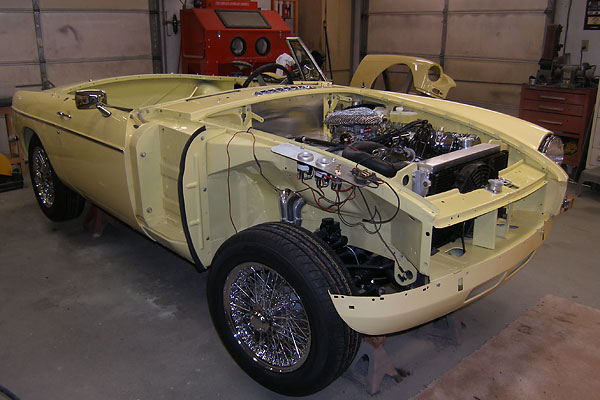
Preparing to test-fire the newly installed engine.
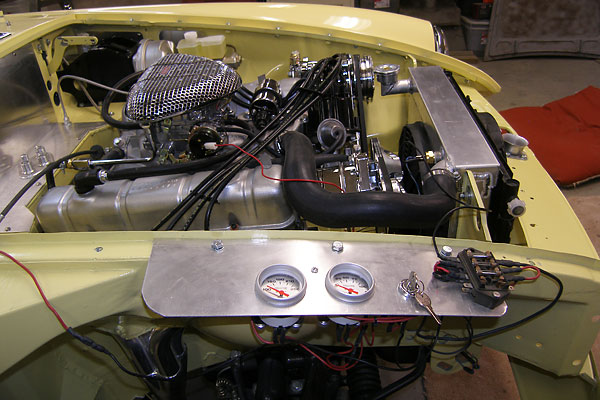
Isn't this nifty: a remote gauge panel with starter switch!
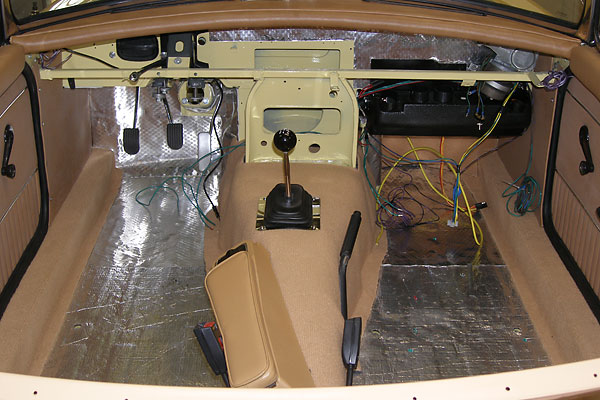
Nostalgic Air climate system.
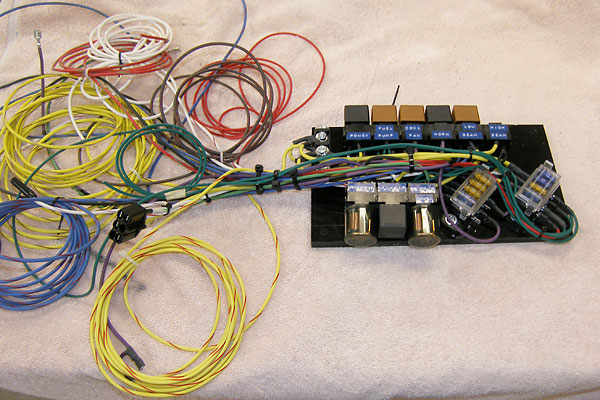
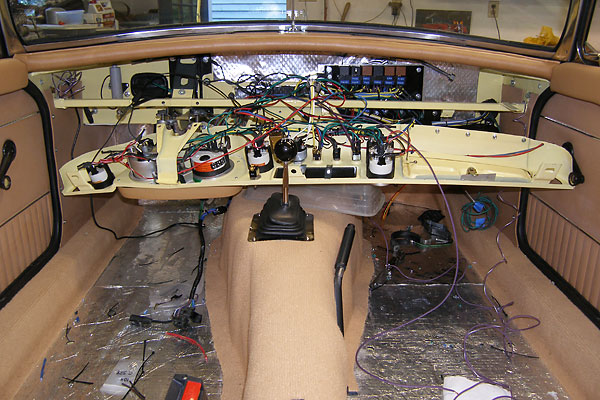
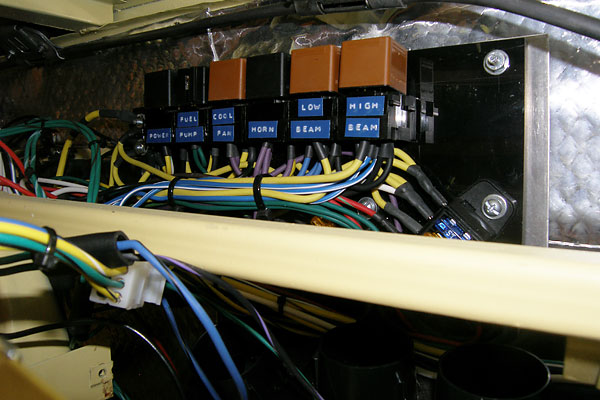
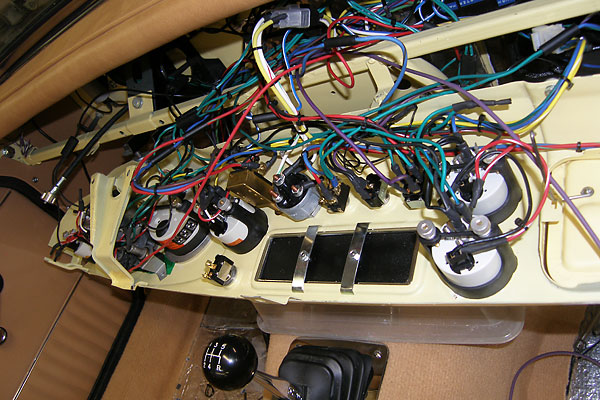
Advance Auto-Wire wiring system.
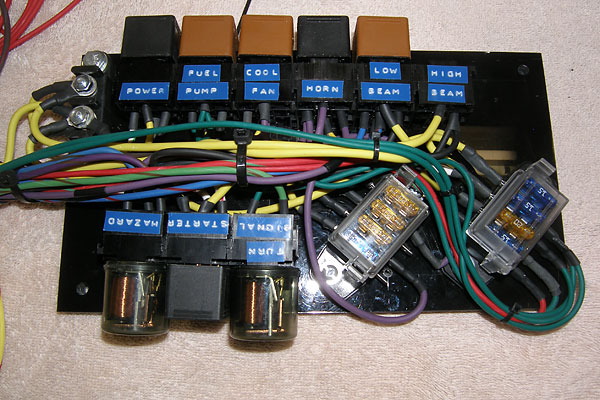
Seven relays, two flashers, eight fuses...
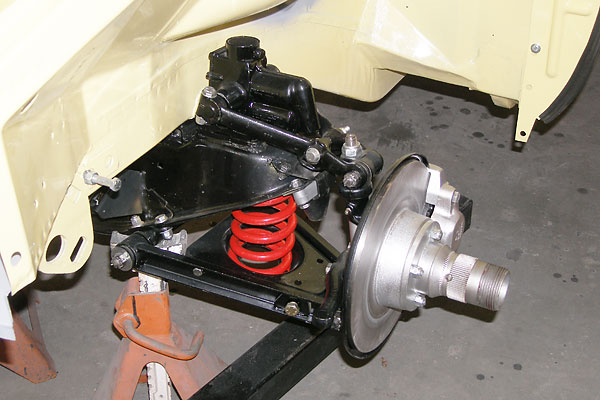
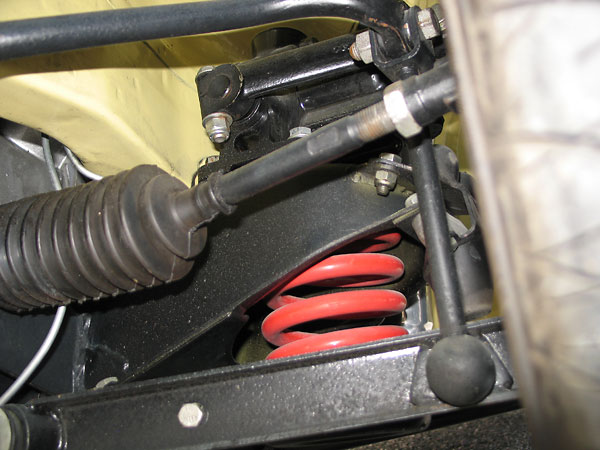
Rebuilt MGB front suspension.
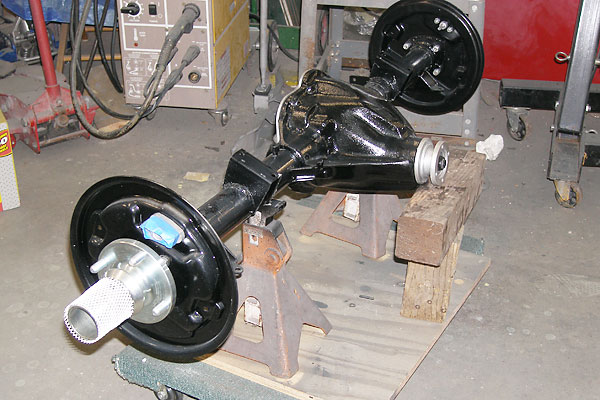
MGB tube-type (Salisbury) axle. The anti-sway bar brackets are a late-model feature.
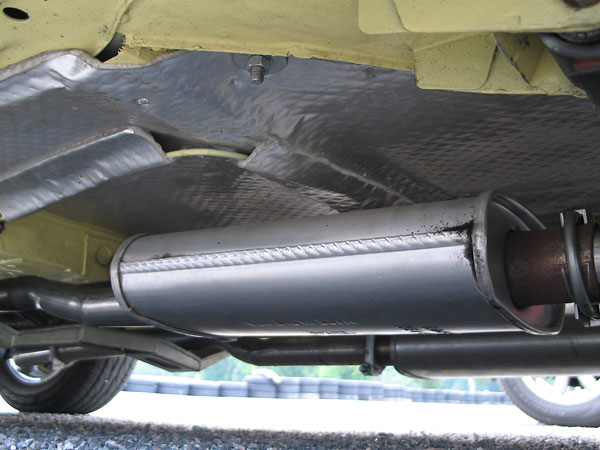
Suspension, Exhaust, and Rear Axle
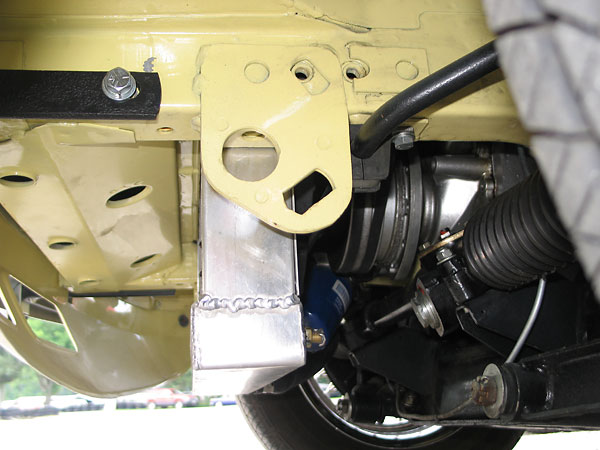
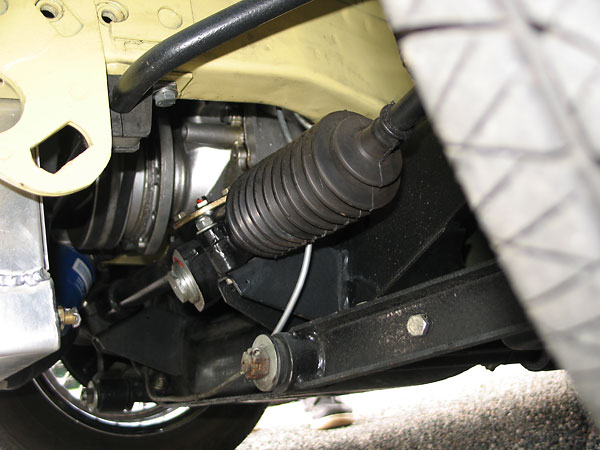
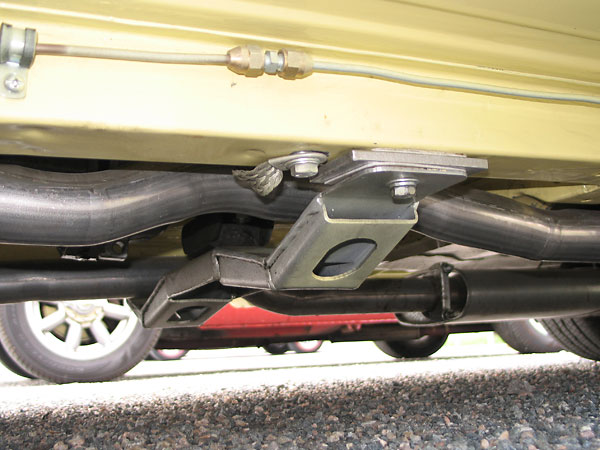
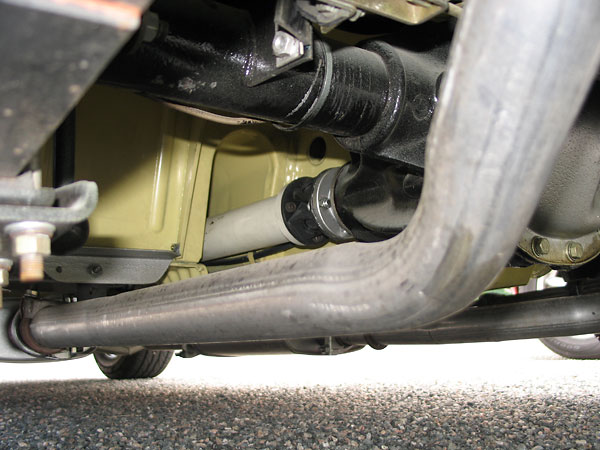
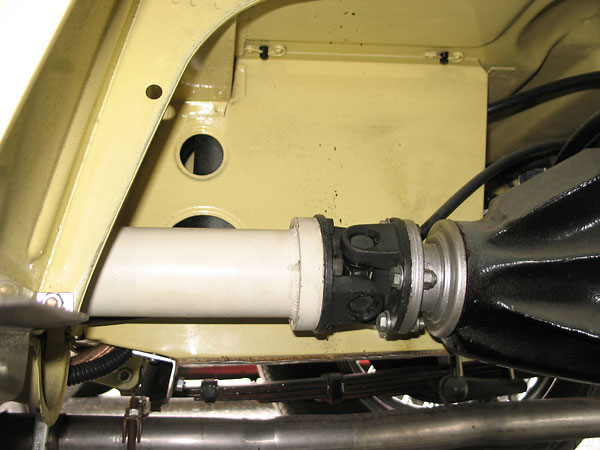
D&D Fabrication driveshaft.
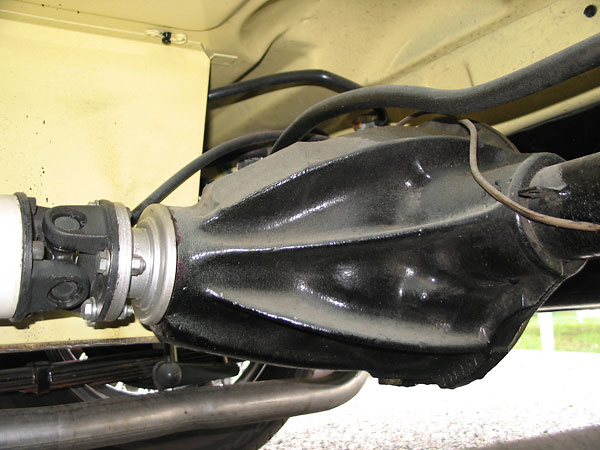
Salisbury axle. (Note: "Salisbury" is just a popular Britishism for "Dana/Spicer".)
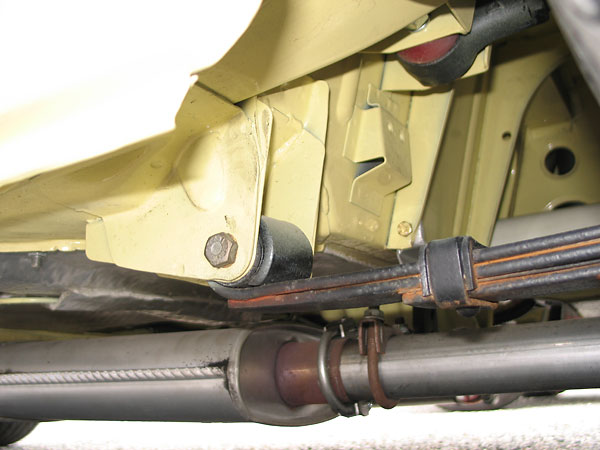
Anti-sway bar bracket on the body.
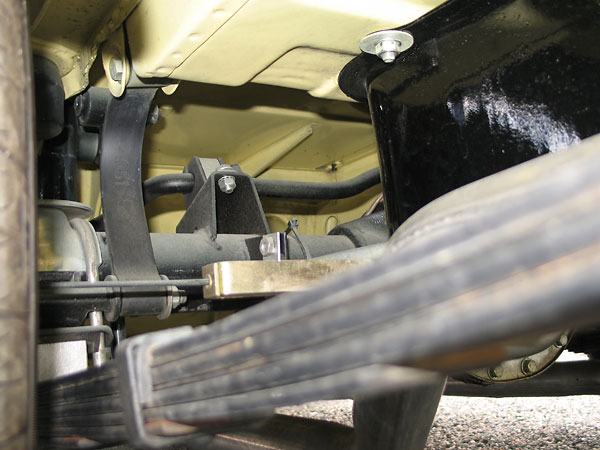
Anti-sway bar bracket on the axle.
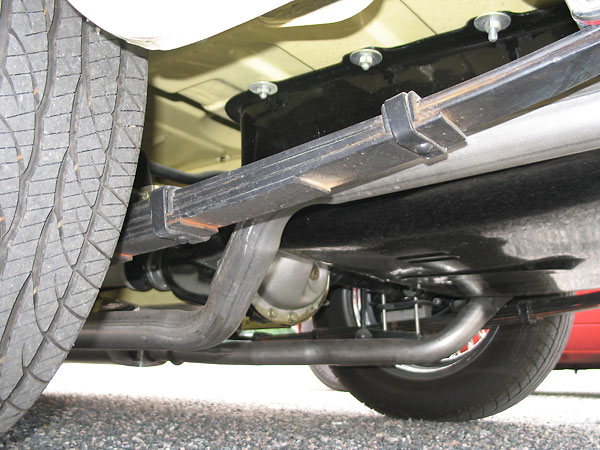
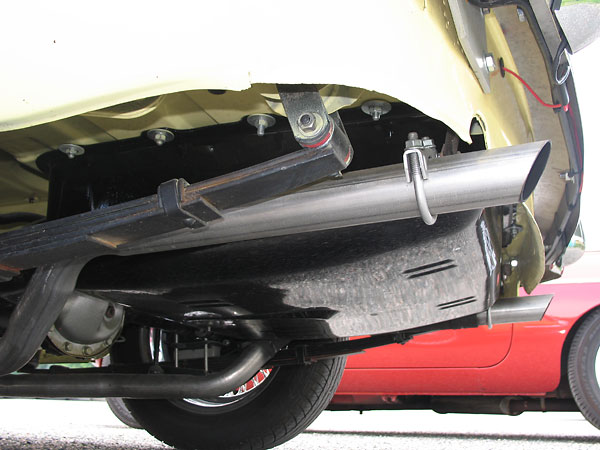
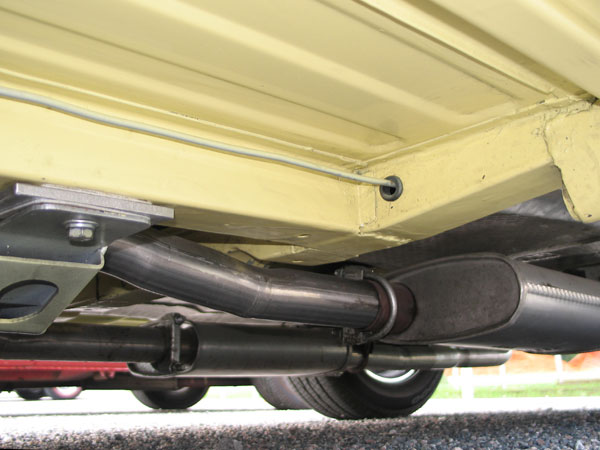
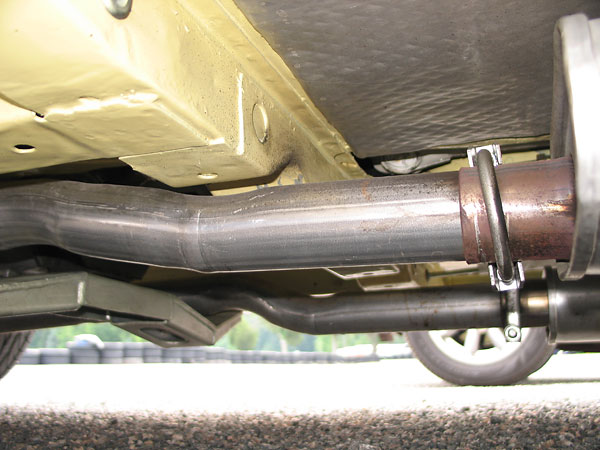
The fuel tank was centered to accomodate dual exhaust.
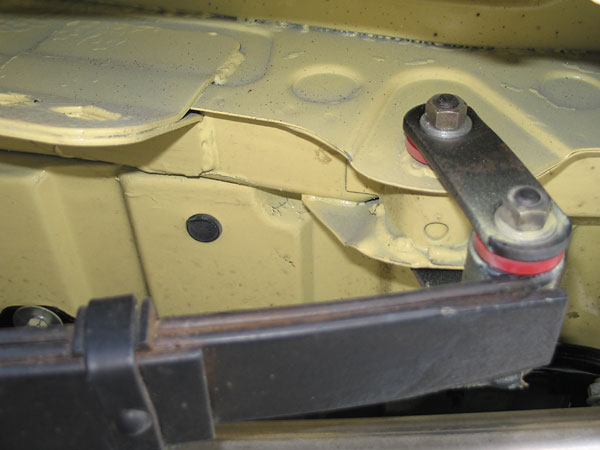
Red urethane bushings.
Interior
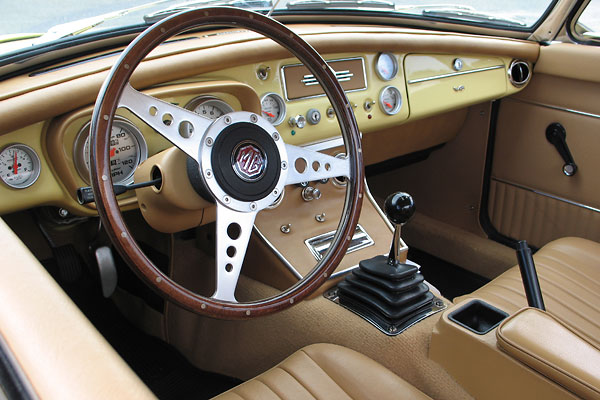
Tourist Trophy 15" wood three-spoke steering wheel.
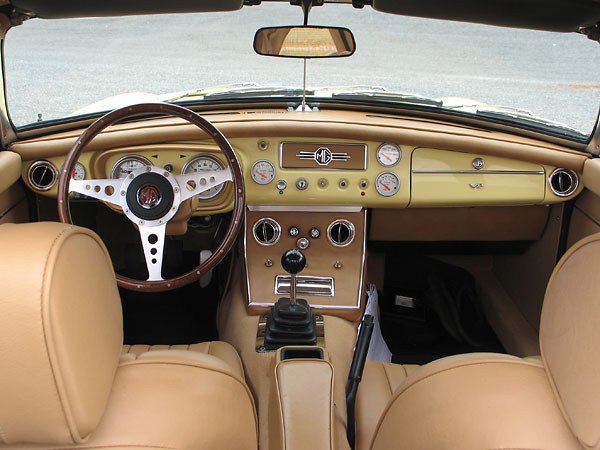
MGB steel dashboard, repainted body color.
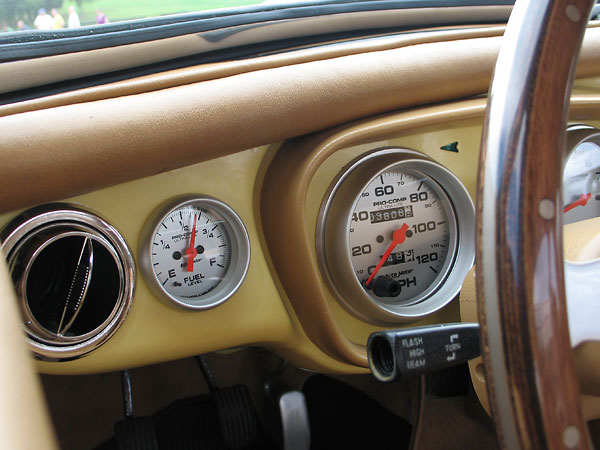
AutoMeter Pro-Comp programable fuel level gauge.
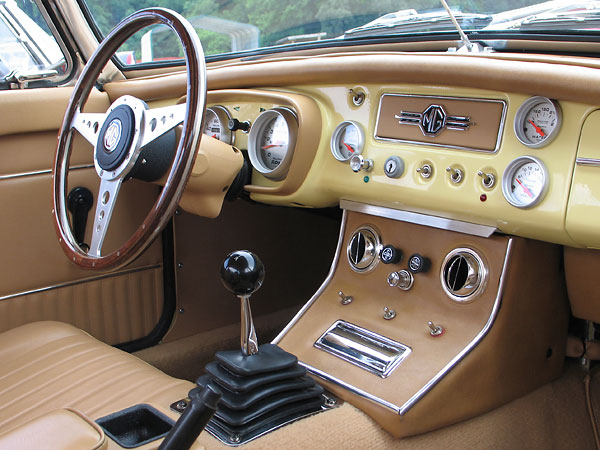
Hurst Billet/Plus shifter.
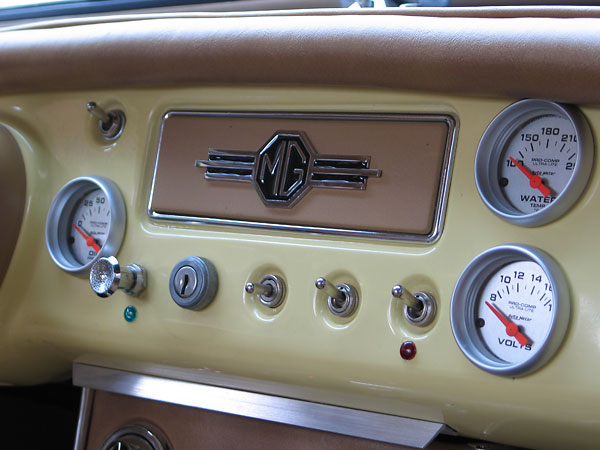
AutoMeter Pro-Comp gauges: oil pressure, water temp, voltmeter.
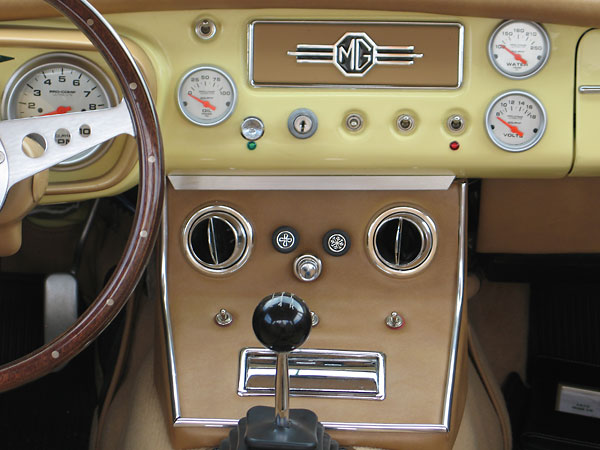
Custom built center console includes air conditioning controls and louvers.
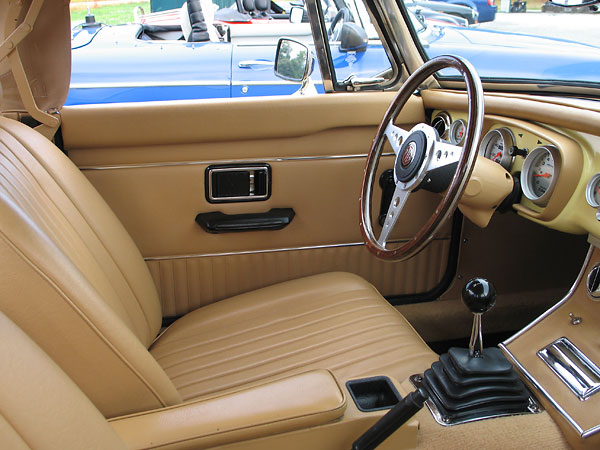
1977-1980 armrest/console was cut down to suit the custom shifter boot.
Exterior
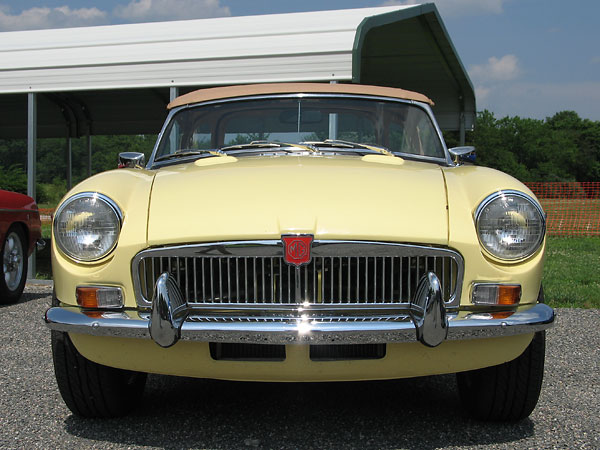
It's so liberating to simply build your car with your favorite parts and features!
For example, here a 1962-1969 style grille is used with a 1973-1974.5 apron.
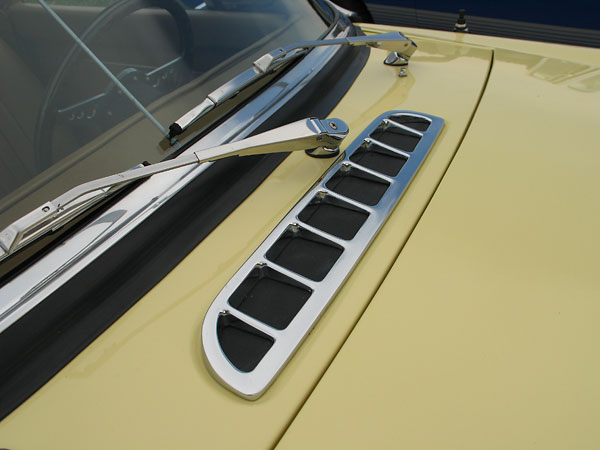
Note that the cowl vent has been discretely blanked off.
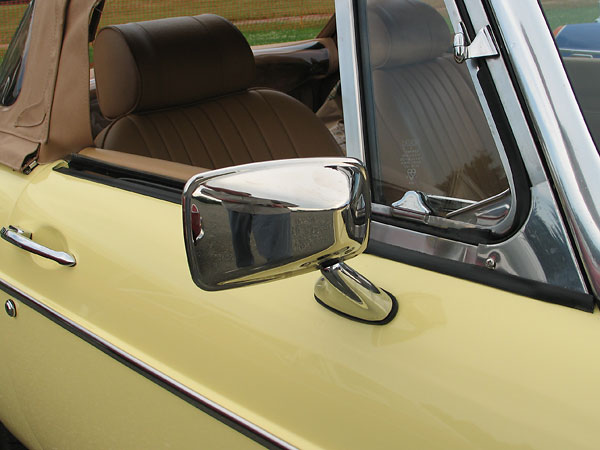
Later model (1974-1980) door mirrors.
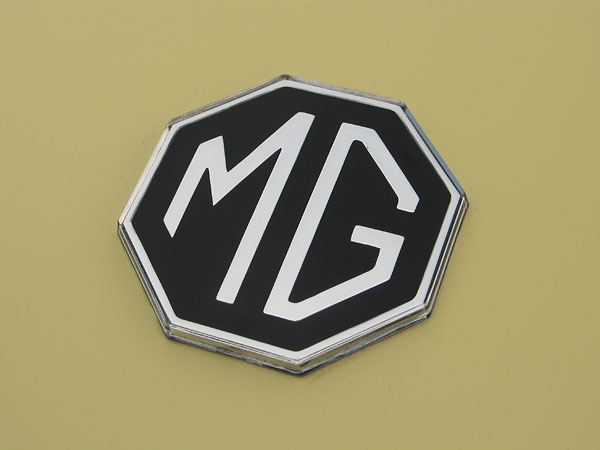
Later model boot lid badge.
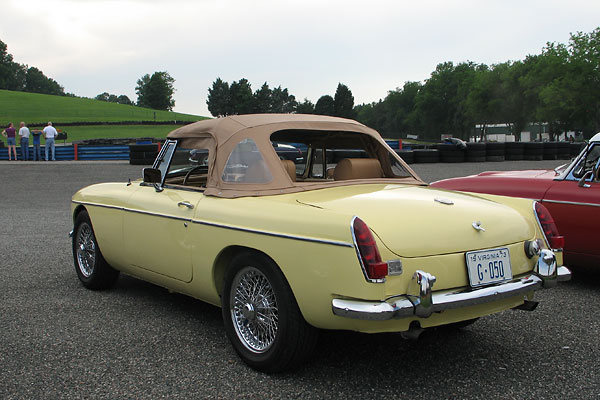
Solid red taillamps (circa 1962-1969).
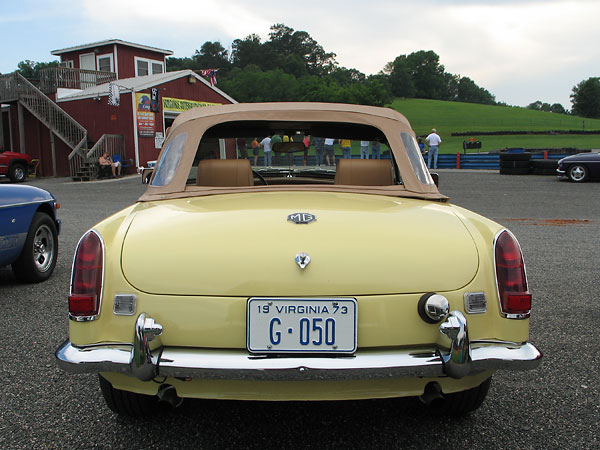
MkI bumper overriders on MkIII bumper: being mounted further outboard makes the car appear wider.
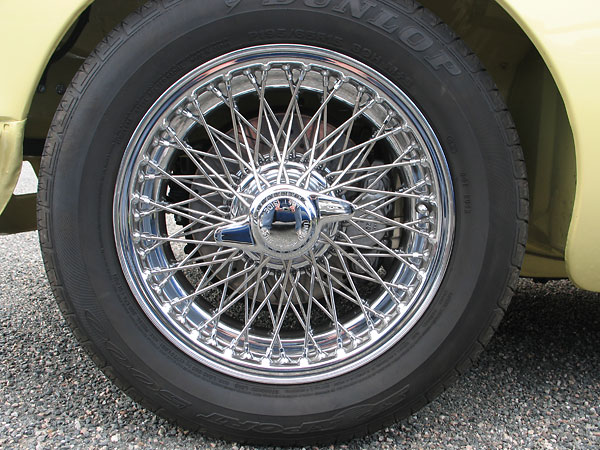
15" Dayton wire wheels.
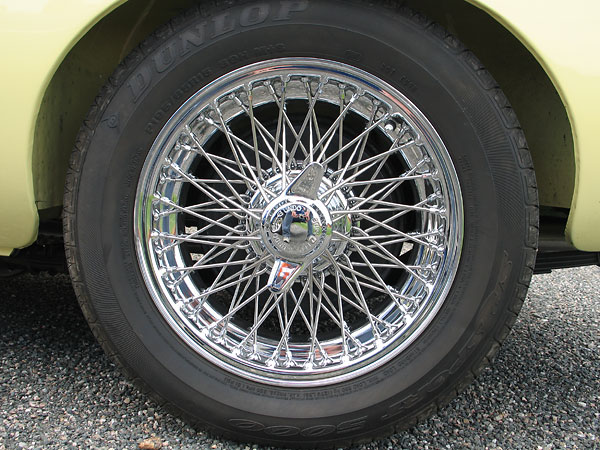
Dunlop SP Sport 5000 P195/65R15 tires.
The 34 photos in the "How It Was Done" sub-section were submitted by Mike Alexander for BritishV8's exclusive use. All other photos shown here are from BritishV8 2009, and were taken by Curtis Jacobson for BritishV8 Magazine.
Copyright 2009. All rights reserved.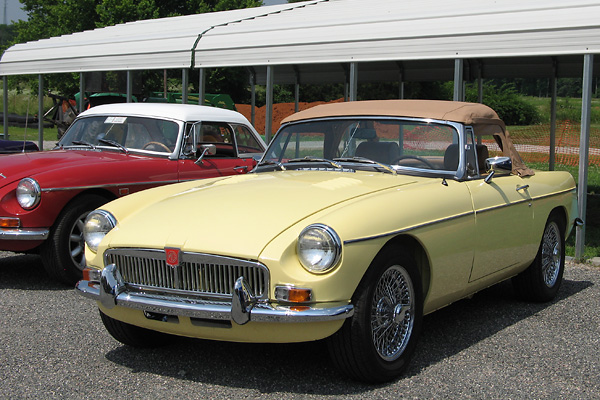


0 comments:
Post a Comment